Attik Update - Required Items Before Completing, Paragraph Areas on Official Forms & Clearer Reinspection Reports
Summary
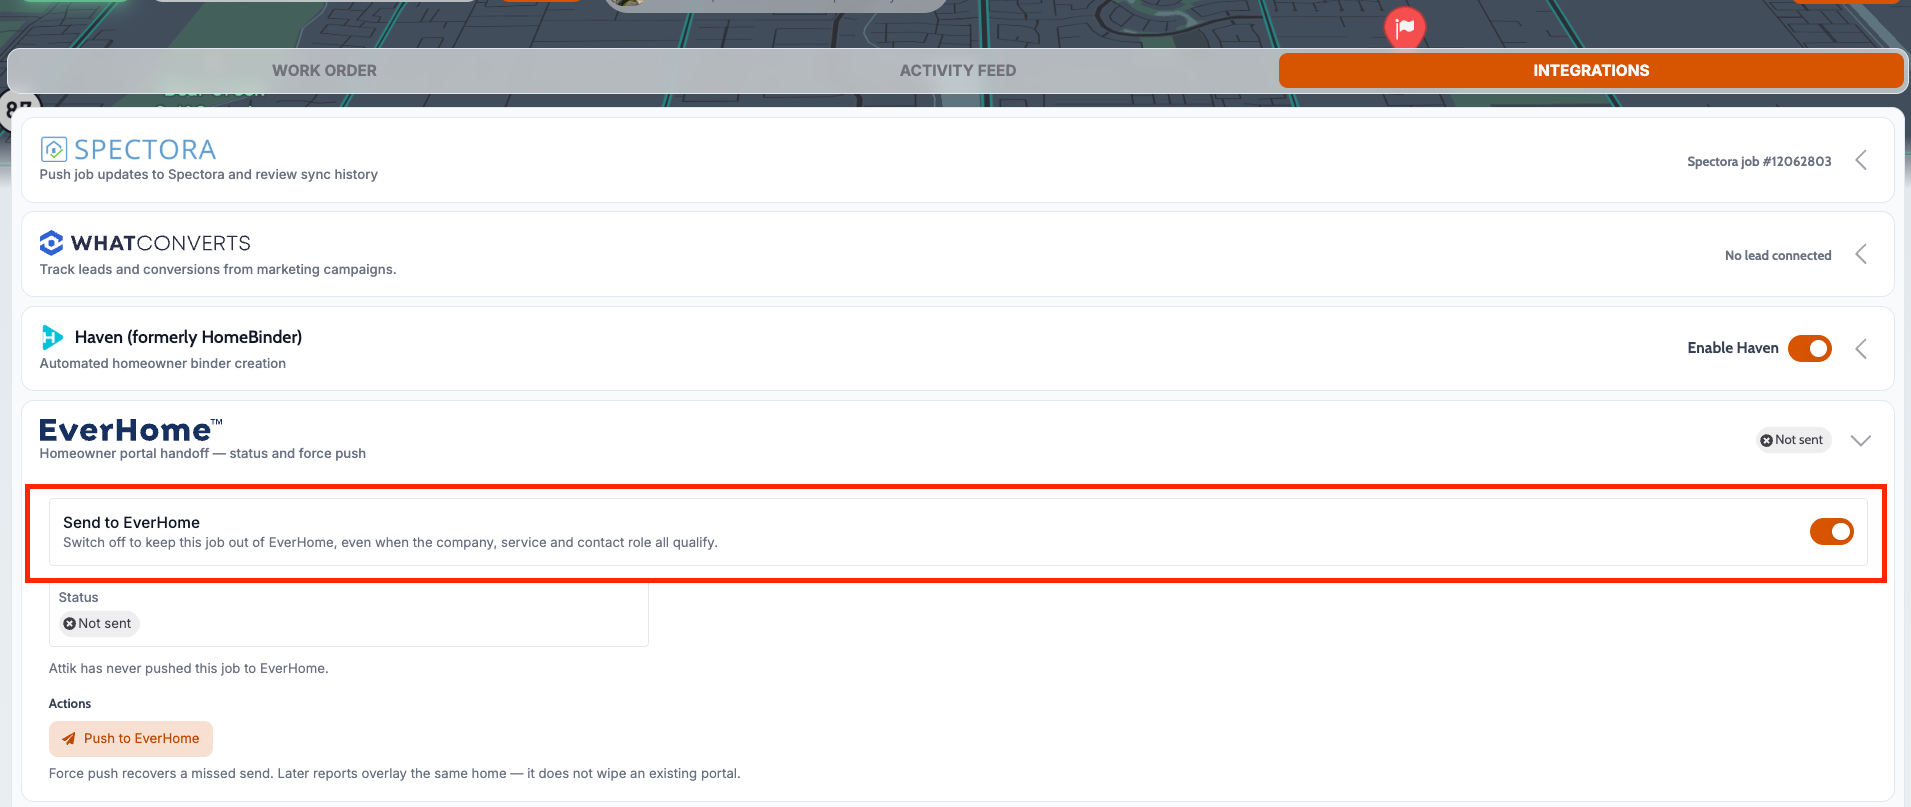
Staff can keep one specific job from going to EverHome with a new Send to EverHome switch
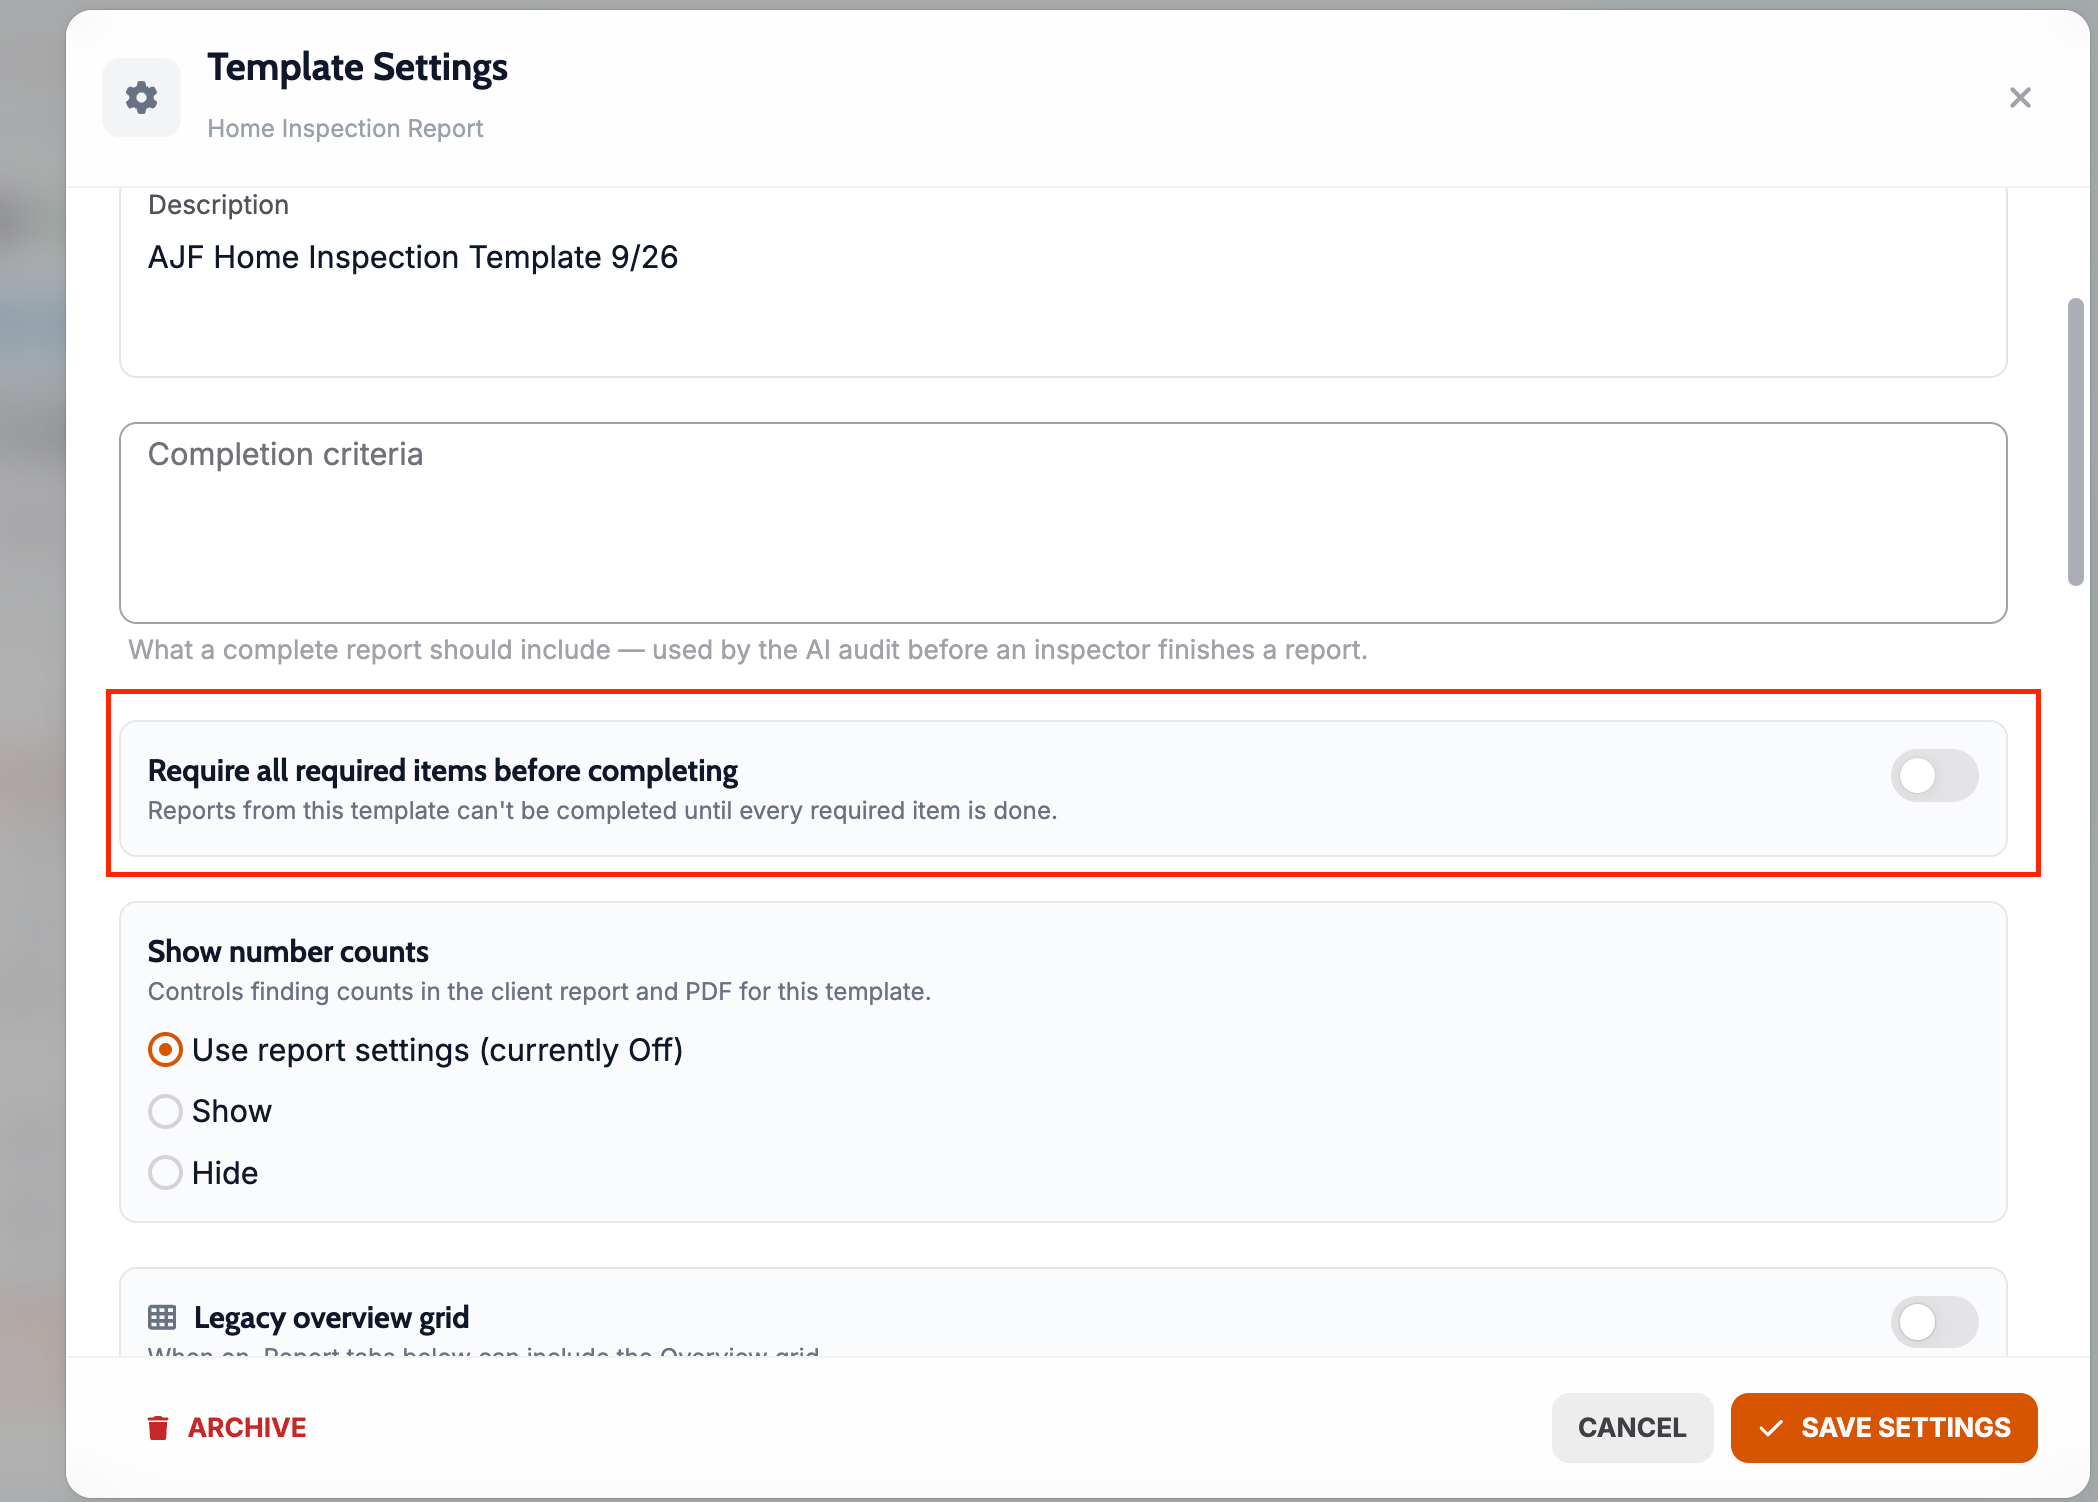
Templates can require every required item before a report can be completed
Official forms can fit several answers into one comment area
Add-on reports use the job's cover photo
Reinspection reports show outcomes first, keep original and new photos apart, and hide Standards
Location tag fixes for longer tags and cleared tag groups
New Features
Keep a single job out of EverHome
What changed: Staff can switch off Send to EverHome on one job so it won't create an EverHome portal, even when the company, service and client role would normally send it. The job's EverHome panel shows who turned it off and when, and switching it back on sends the job the next time a report is completed or someone pushes it manually. Turning it off doesn't remove a portal that already exists.
Where to find it:
Open the work order.
Go to Integrations.
In the EverHome panel, use the Send to EverHome switch.
Setup:
Only staff users can change this switch, and it only matters for companies already connected to EverHome.
Require every required item before a report can be completed
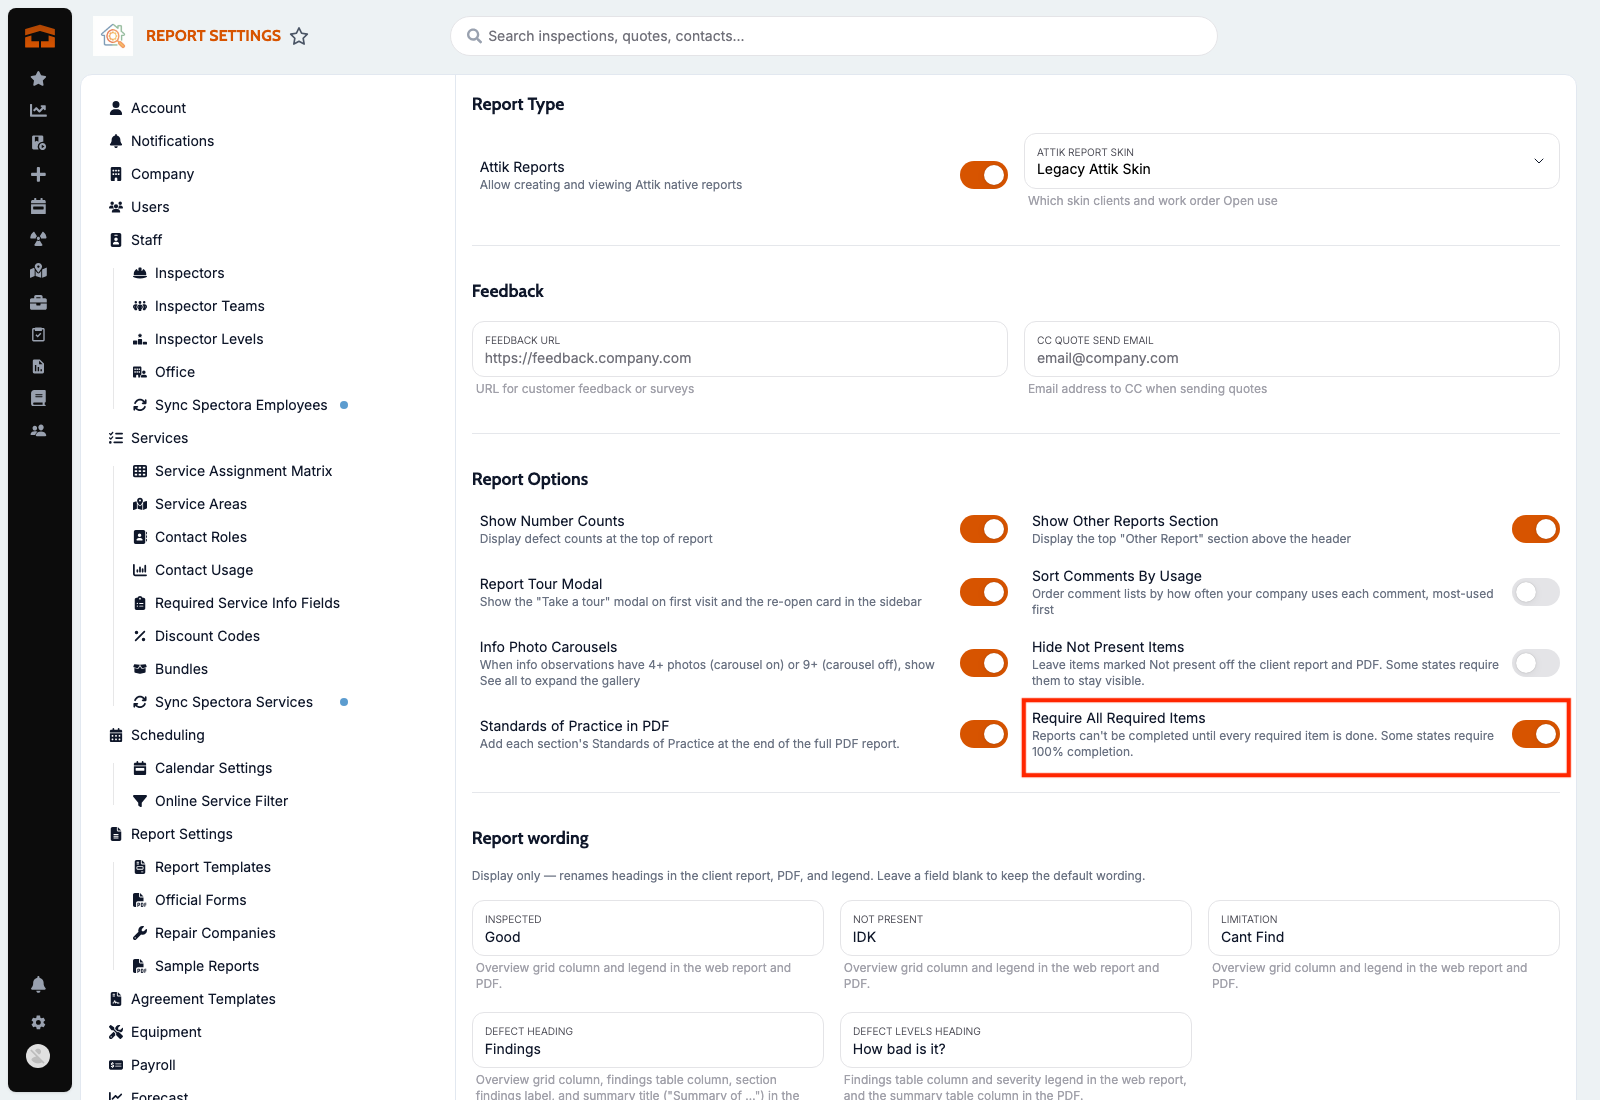
What changed: A report template can now stop a report from being completed until every required item is done, for brands in states that require full completion. On the web, Complete is turned off and lists the required items still left; on the phone, the Finish screen lists them and won't complete the report. With the switch off, inspectors still see the missing items but can choose to complete anyway.
Where to find it:
Open the report template.
Open Template Settings.
Turn on Require all required items before completing.
Setup:
Turn the switch on for each template that needs full completion. It is off by default.
Fit several answers into one comment area on official forms
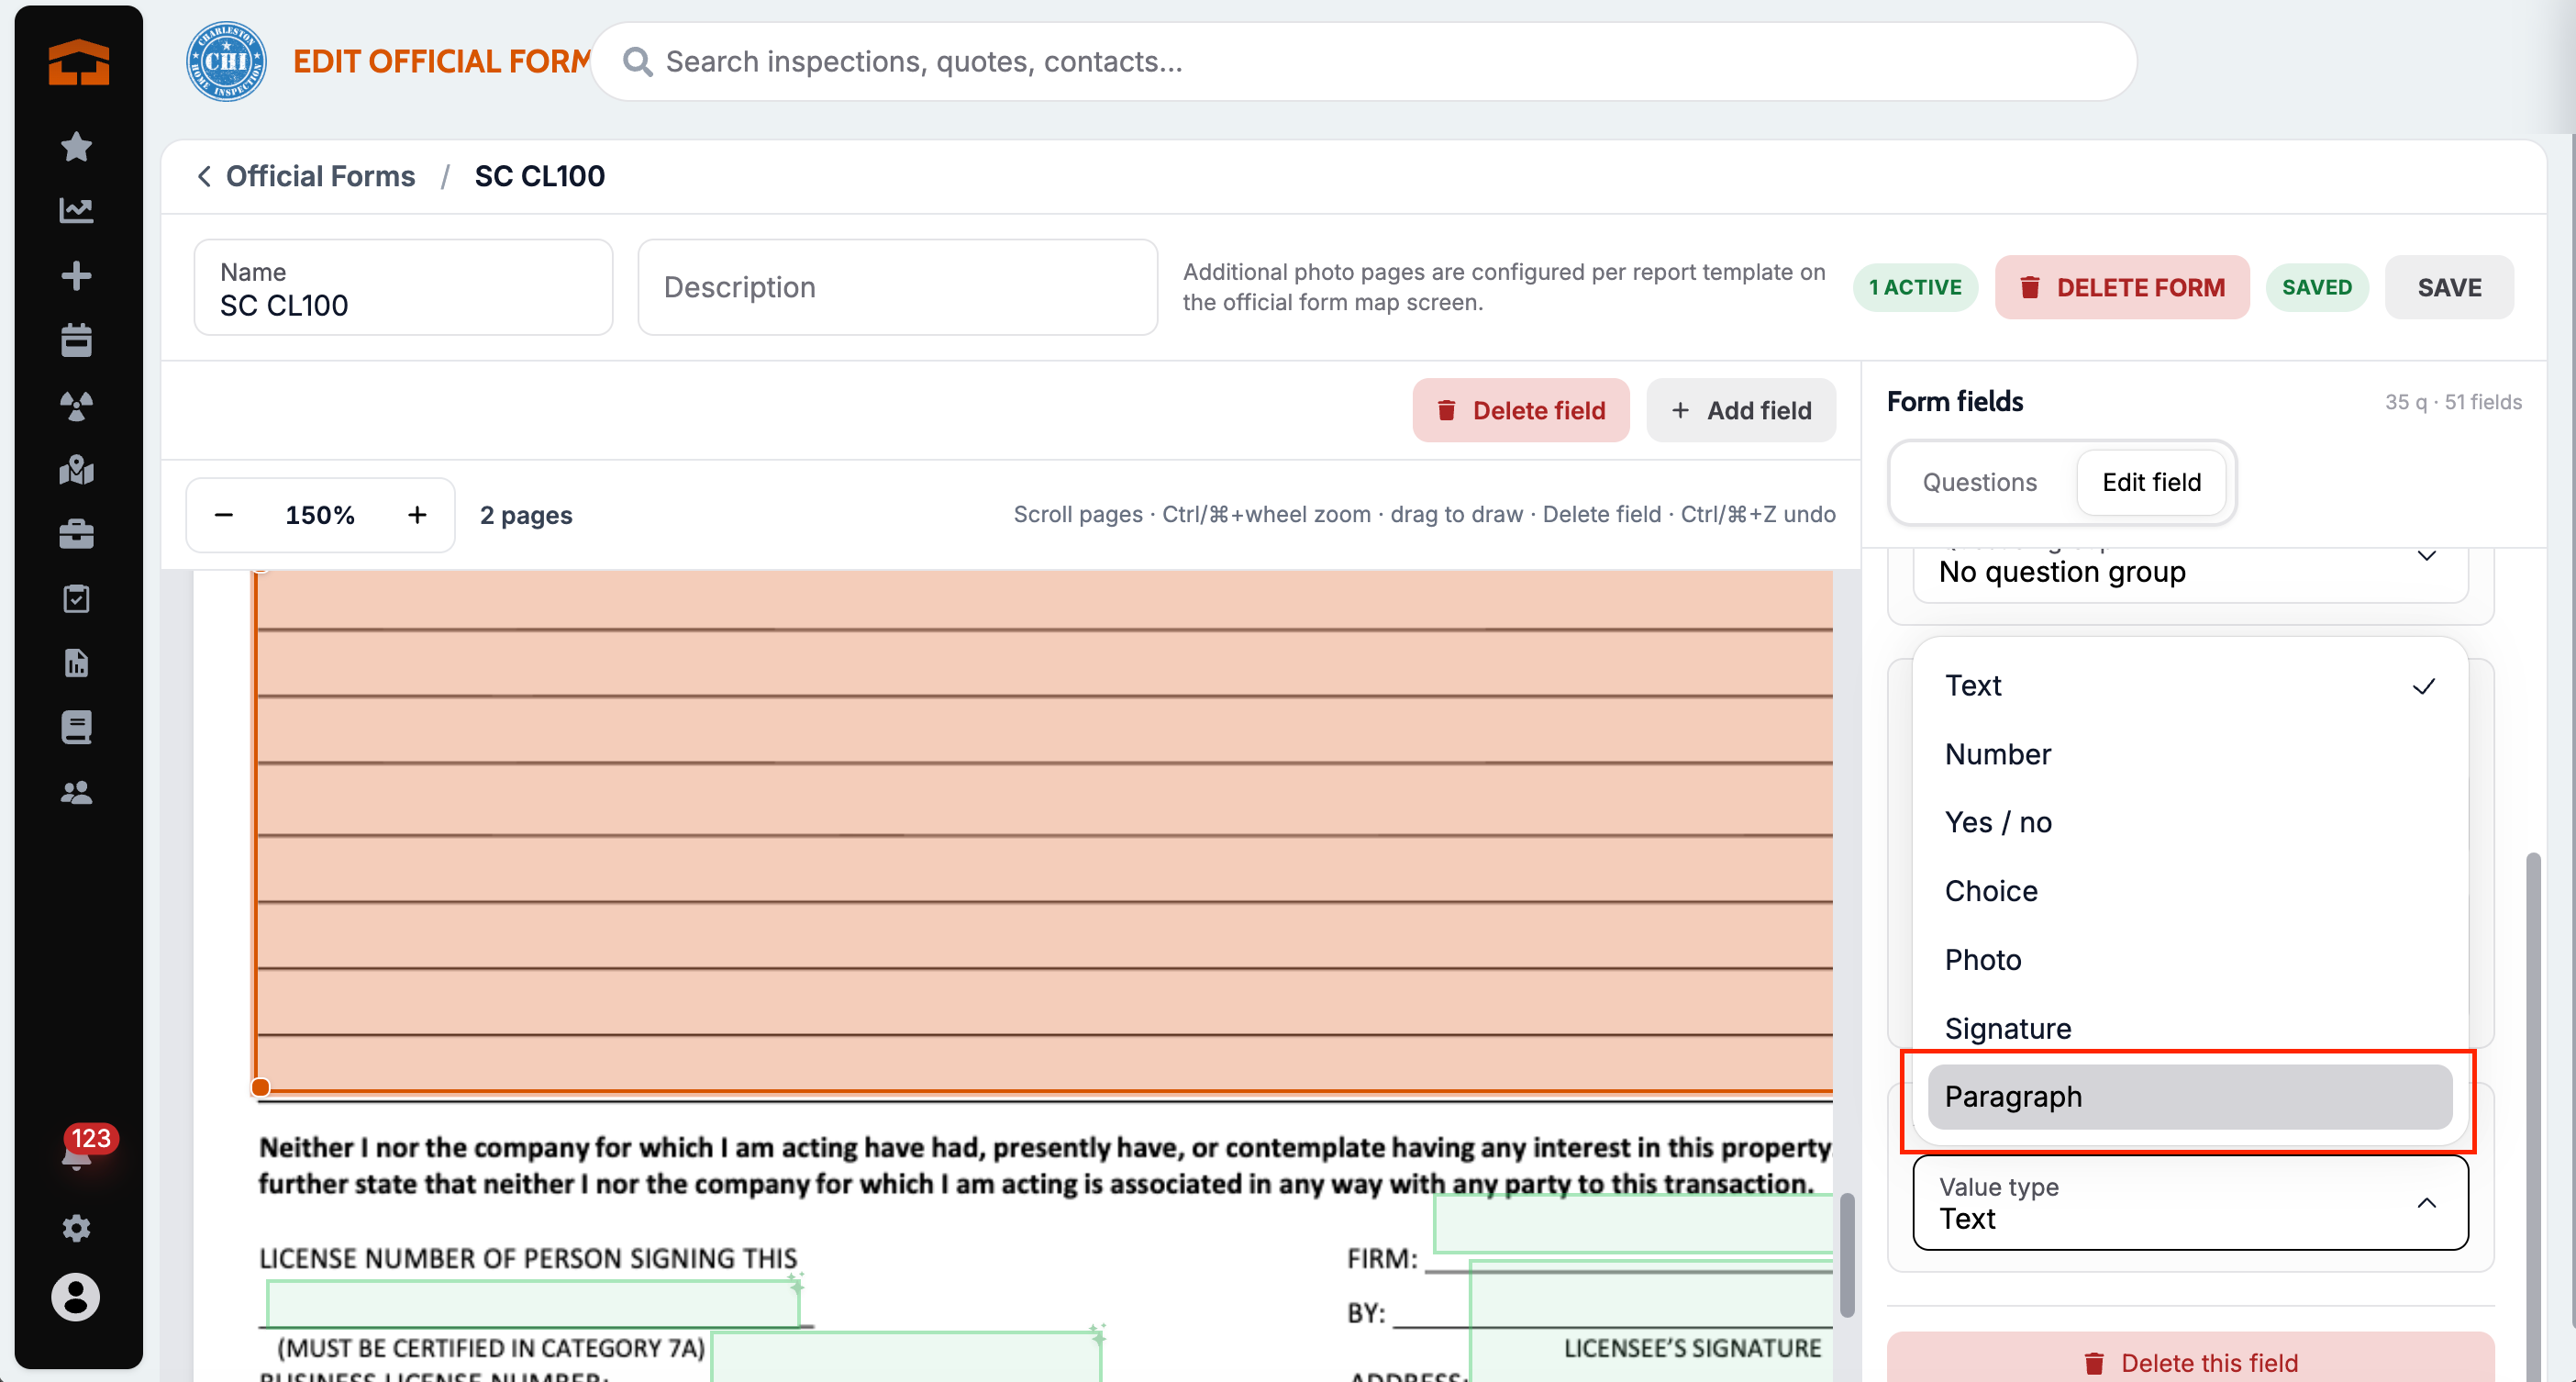
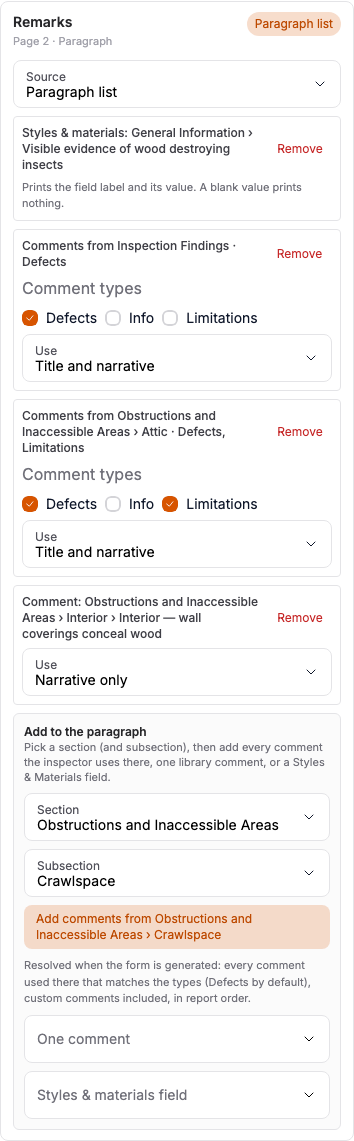
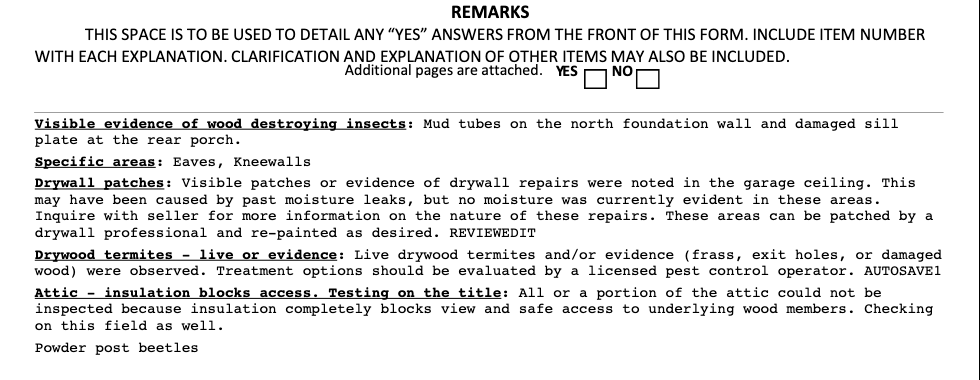
What changed: When an official form has a fixed comment area, like the comment lines on the CL-100 wood-destroying insect form, you can now map it as a Paragraph and connect as many comments, whole sections or Styles & Materials fields as you need. Each entry prints with its label in bold and underlined, repeated text prints once, the text shrinks to fit, and the form review flags any answer that still did not fit.
Where to find it:
Open the report template's official form mapping.
Select the comment area and set its type to Paragraph.
Use Add to paragraph to connect comments or Styles & Materials fields, then drag entries into the order they should print.
Setup:
Map the comment area once per official form template. You can also choose Let AI choose or Do not fill for the area.
Improvements
Change type, defect level and reinspection outcome from the report
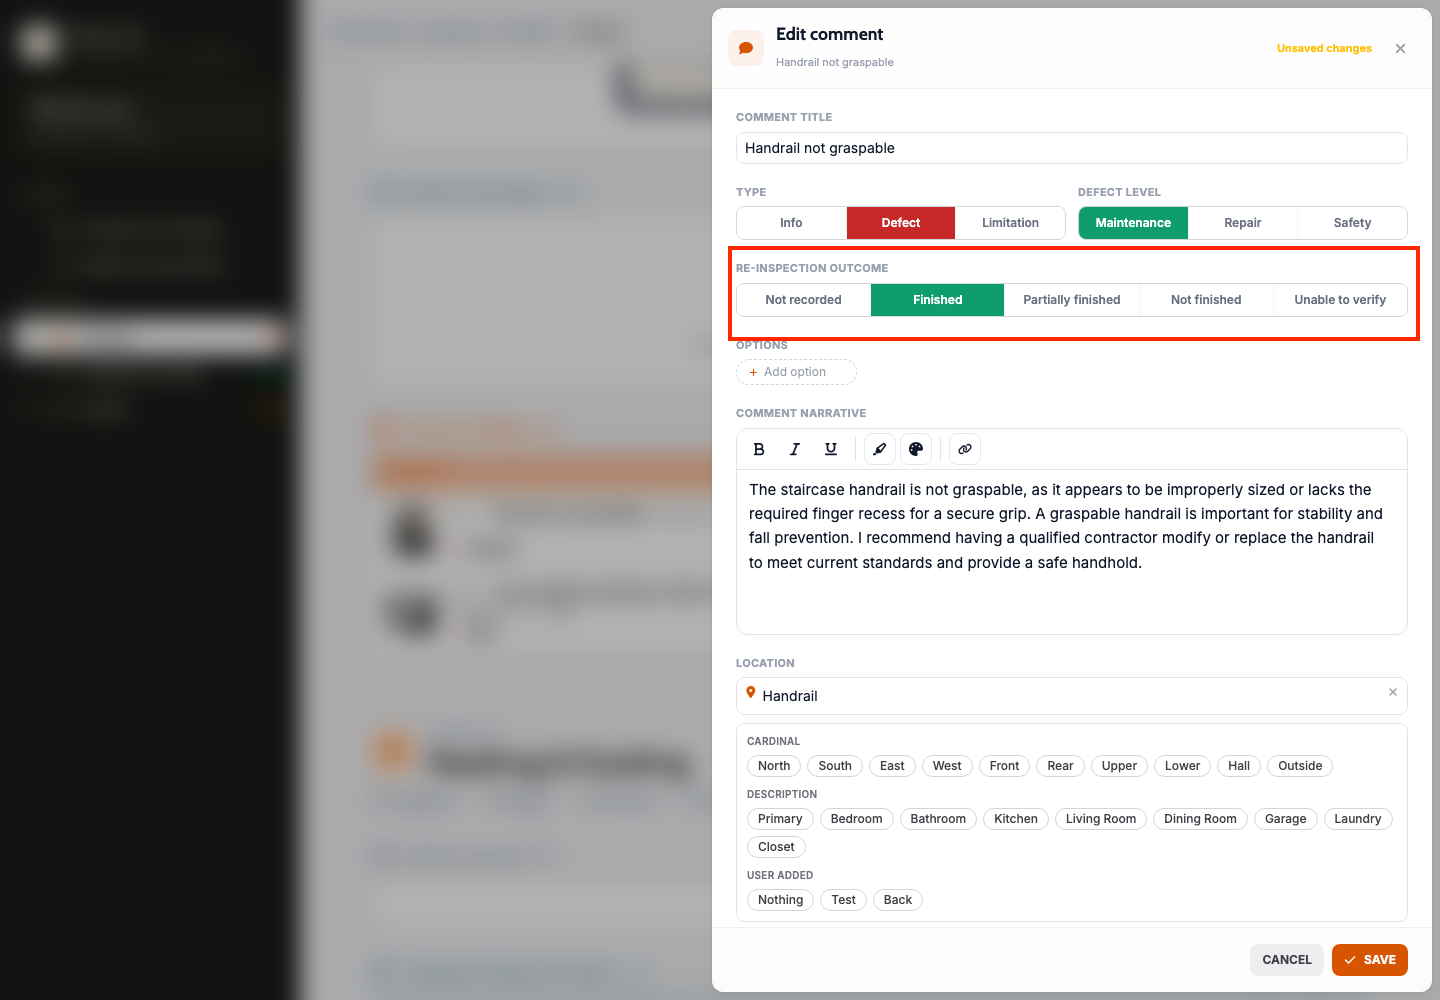
What changed: Staff can now change a comment's type and defect level, and its reinspection outcome on a reinspection, right from the edit pencil on the report instead of only from the report editor's comment drawer. Outcome buttons now show the same icons as the phone, and items carried over from the original report only take an outcome.
Where to find it:
Open the report.
Click the edit pencil on a comment.
Change the type, defect level or reinspection outcome.
Original and reinspection photos are kept separate
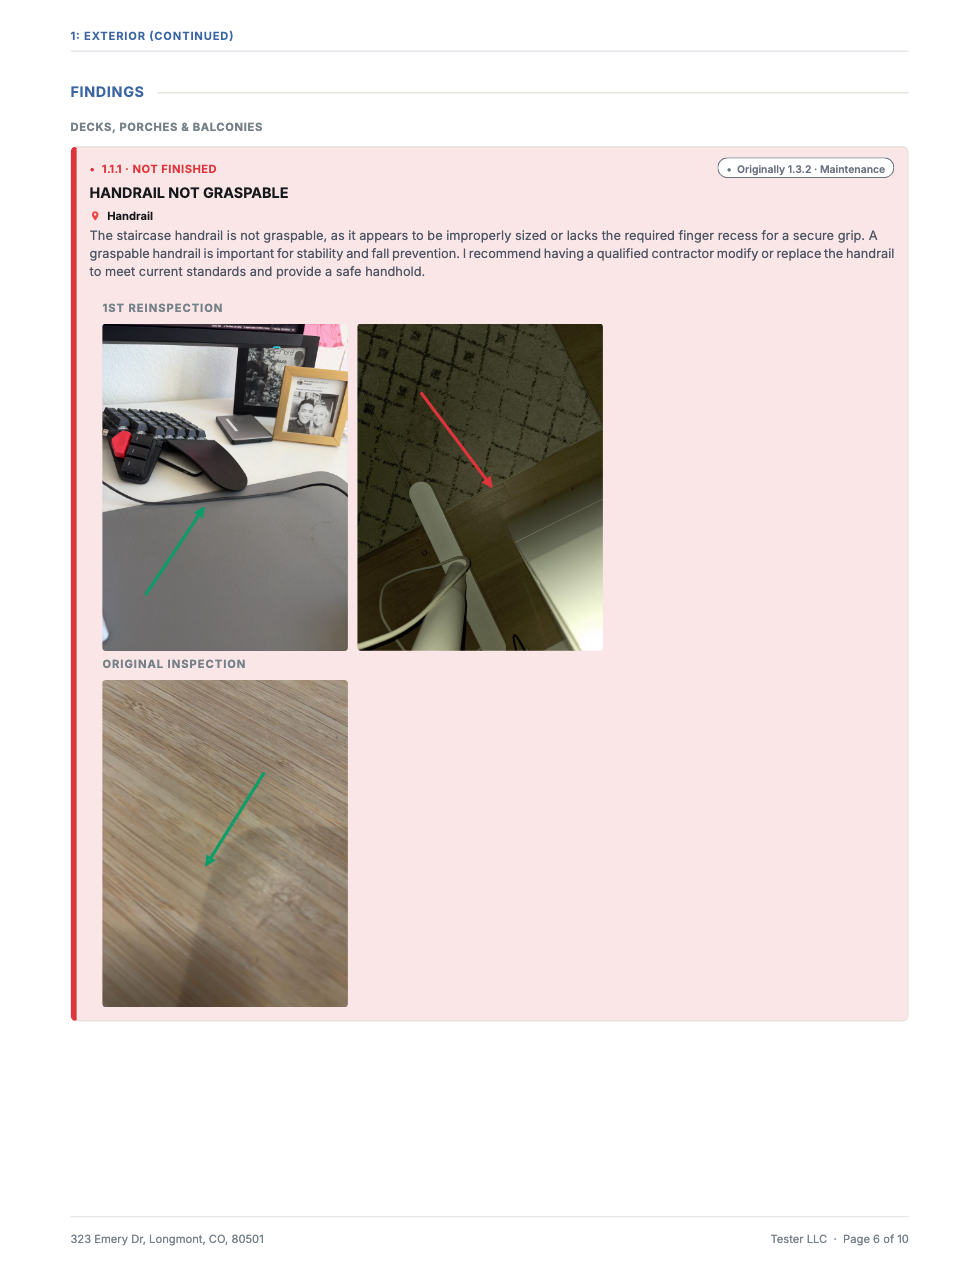
What changed: On reinspections, photos are now grouped by visit, such as Original inspection and 1st reinspection, with the newest visit first, so it's clear which photos are new. This shows in the web report editor, the client report and the PDF.
Where to find it: Reinspection reports in the report editor, client report and PDF.
Add-on reports use the job's cover photo
What changed: A report with no cover of its own, like a sewer or WDO add-on, now shows the cover from the job's main inspection (or another report on the job) instead of a different photo or Street View. The same cover shows on the client report, the PDF and the work order's report cards, so you only set it once.
Where to find it: Work order report cards, client report and PDF. No new screen; takes effect after the update.
Reinspection reports show the reinspection outcome first
What changed: On a reinspection report, each finding's main color and label now come from its reinspection outcome instead of the original defect level, with an "Originally" line naming the original level. Sections roll up to their most serious outcome.
Where to find it: Client report and PDF for reinspection reports.
Standards are hidden on reinspection reports
What changed: Reinspection reports no longer show the Standards tab or standards text, so clients only see what was reinspected. Original reports are unchanged.
Where to find it: Client report and PDF for reinspection reports.
Not present sections on web reinspections
What changed: The web editor now shows reinspection sections that nothing was carried into, the same as the phone. Removing a row on a reinspection marks it Not Present, keeps it in the outline with an undo, and prints it as Not Present on the reinspection report.
Where to find it:
Open a reinspection report in the web report editor.
Find the section in the outline.
"View as" options follow your contact role order
What changed: The work order's Open Portal as list now follows your company's contact role order, the same order as the Contacts block, with Staff last.
Where to find it: Work order, Open Portal as.
Bug Fixes
Reinspection counts include newly added findings
What changed: The "Items re-inspected" and outcome counts on a reinspection report now include findings added on that visit, labeled "New on this visit," and no longer count info notes or limitations.
Where to find it: Top of a reinspection report and the outcome filter.
Applies to: Existing and future records
Location tags match whole tags
What changed: Picking a longer location tag such as "Side of the building" no longer also lights up the shorter "Side" and "Building" tags. On the web, tapping a tag now always adds it in the order you tap, like on the phone; remove a tag by editing the text.
Where to find it: Location tags on comments and photo captions.
Applies to: Existing and future records
A cleared location tag group stays empty
What changed: If your company or a template removes every tag in a location tag group, the group now stays empty everywhere instead of bringing back Attik's default tags. Templates also show a No tags state, with Use the company list to go back to your company's tags.
Where to find it: Location tags in company settings and the report template editor.
Applies to: Existing and future records